It’s not often I have to set up a dev enviroment but when I do, I tend to blog about it so I can refer to it again if I need to. This time I will be creating a dev environment on Ubuntu Desktop 18.04. I will be installing the following.
- PHP 7.2.x
- MySQL Community Server 5.7.x
- Composer
- Node
- Laravel Installer
- PHPStorm
I will not use Apache or Nginx. I will be using PHP’s built-in web server for testing and debugging.
Installing PHP 7.2.x
I like using packages made by Ondřej Surý. You will need to add his PPA. This will give you the ability to use different versions of PHP.
sudo add-apt-repository ppa:ondrej/php

sudo apt-get update

sudo apt-get install php7.2 php7.2-cli php7.2-mysql php7.2-zip php7.2-mbstring php7.2-xml
# check version of php

php -v

Installing MySQL
Installing MySQL is straight forward. You install MySQL server then you run the secure installation process. Just answer the questions and that will do it.
sudo apt-get install mysql-server
#run secure installation

sudo mysql_secure_installation
Just follow the prompts and and answer the questions. Being it’s a dev environment I don’t enable the password validation plugin. Enter your password you will use as root. I do remove any test related stuff and remote connection. Reload privileges.
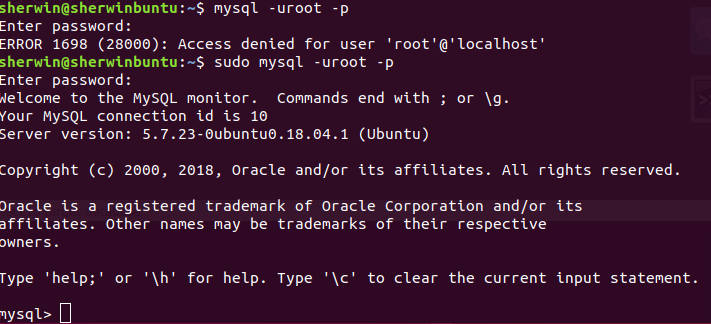
The odd thing is root won’t have access unless you run it with sudo.

As you can see from the screenshot above, you will get an access denied unless you use sudo.
If you don’t want to use terminal, then I would suggest install Workbench.
#install mysql workbench

sudo apt-get install mysql-workbench
You might run into the issue as explained above. One thing you can do is create a new user but essentially it will have the same priveleges as root. I guess you can increase security by using a username that is not commonly used to define such an account. But it’s still decreasing security.
CREATE USER 'admin'@'localhost' IDENTIFIED BY '';

GRANT ALL PRIVILEGES ON . TO 'admin'@'localhost' WITH GRANT OPTION;

FLUSH PRIVILEGES;
I used admin as an example but you can use whatever you like. You can also omit the GRANT OPTION if you wish. Open Workbench and edit the connection to match the new user and you should be able to log in to MySQL. Check out this article. I got some answers from here https://askubuntu.com/questions/773446/unable-to-connect-via-mysql-workbench-to-localhost-in-ubuntu-16-04-passwordless.
Installing Composer
Installing composer is easy. Just head on over to https://getcomposer.org/download/ and follow the instructions. I would move the composer.phar and rename it to /usr/local/bin/composer.
sudo mv composer.phar /usr/local/bin/composer
Test command with…
composer about
Running composer about should tell you about composer and should tell you that the path is accessible throughout the system.
Install Laravel via Composer
Now that you have composer installed, you can use it to install Laravel installer.
composer global require "laravel/installer"
Next we need to add the composer vendor bin director to our path. Edit your ~/.profile file.
pico ~/.profile
Add the following…
export PATH=~/.config/composer/vendor/bin:$PATH
Save it and source the file.
source ~/.profile
You can now create a new app with the following command.
laravel new test
It should install the Laravel framework on the test directory. Go into the folder and run the built-in PHP web server.
php artisan serve
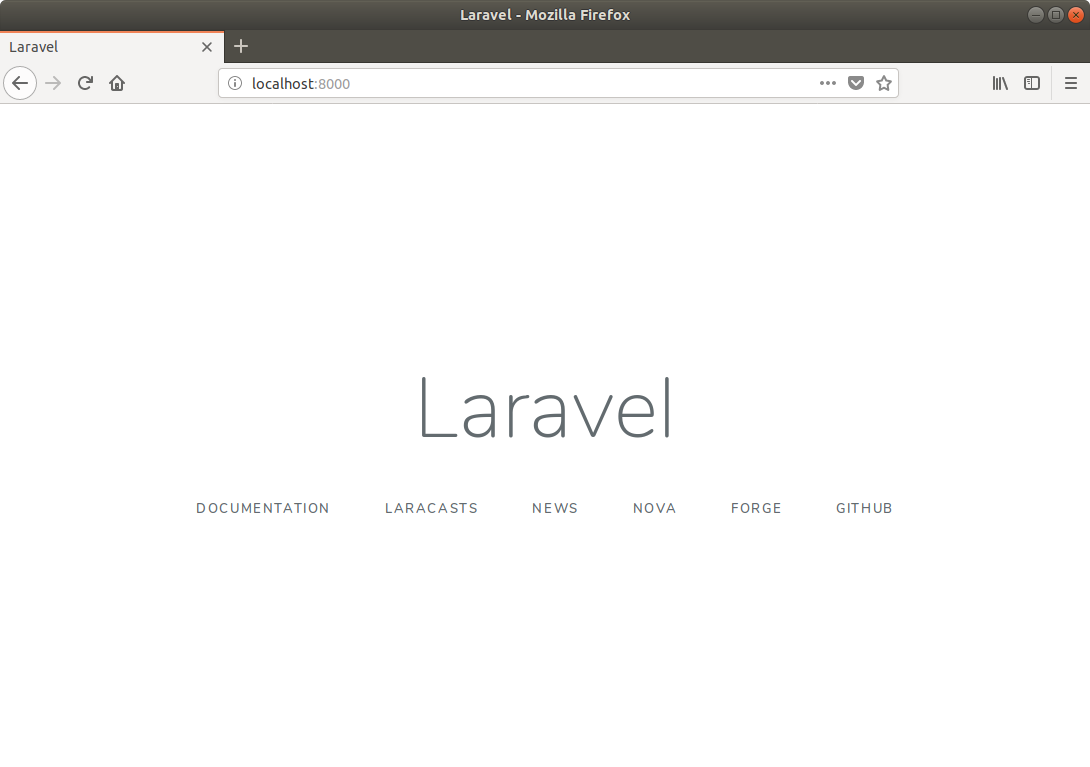
You will now see the website by opening your browser to http://localhost:8000.

For bonus points, you can create an alias so you don’t have to keep typing php artisan. Edit your ~/.bashrc file and add the following.
alias pa='php artisan'
After saving, don’t forget to source the .bashrc file. Now you should be able to run pa and it will run php artisan for you. You can create different aliases to help your development workflow.

Leave a Reply