Expanding Storage on Synology DS1815+
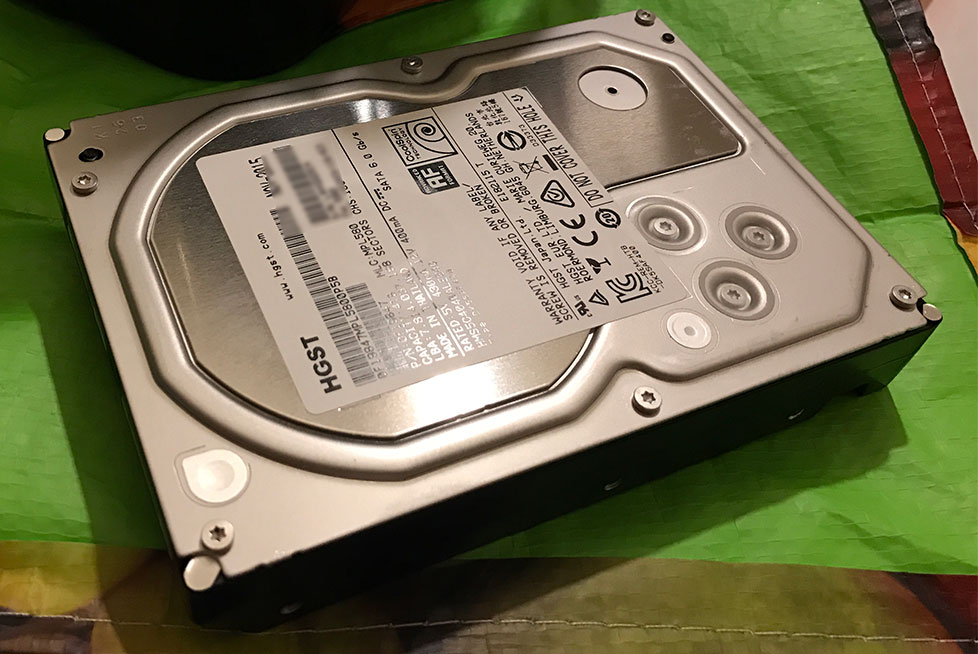
I still have about half of my storage available on my Synology DS1815+ NAS and I’m only using 5 of the 8 bays. But I no longer needed my Synology DS212J. This was using 2x 4TB HGST Coolspin hard drives. I had it configured for a RAID0 to back up data off the DS1815+. I moved the DS212J to a different location and now the back up fails. I’ve tried different things. I figured I’ll repurpose the device and swap out the drives. So now I have 2 spare 4TB drives plus I have another 4TB brand new and unused. Perfect! This will work well since I have 3 bays still open.
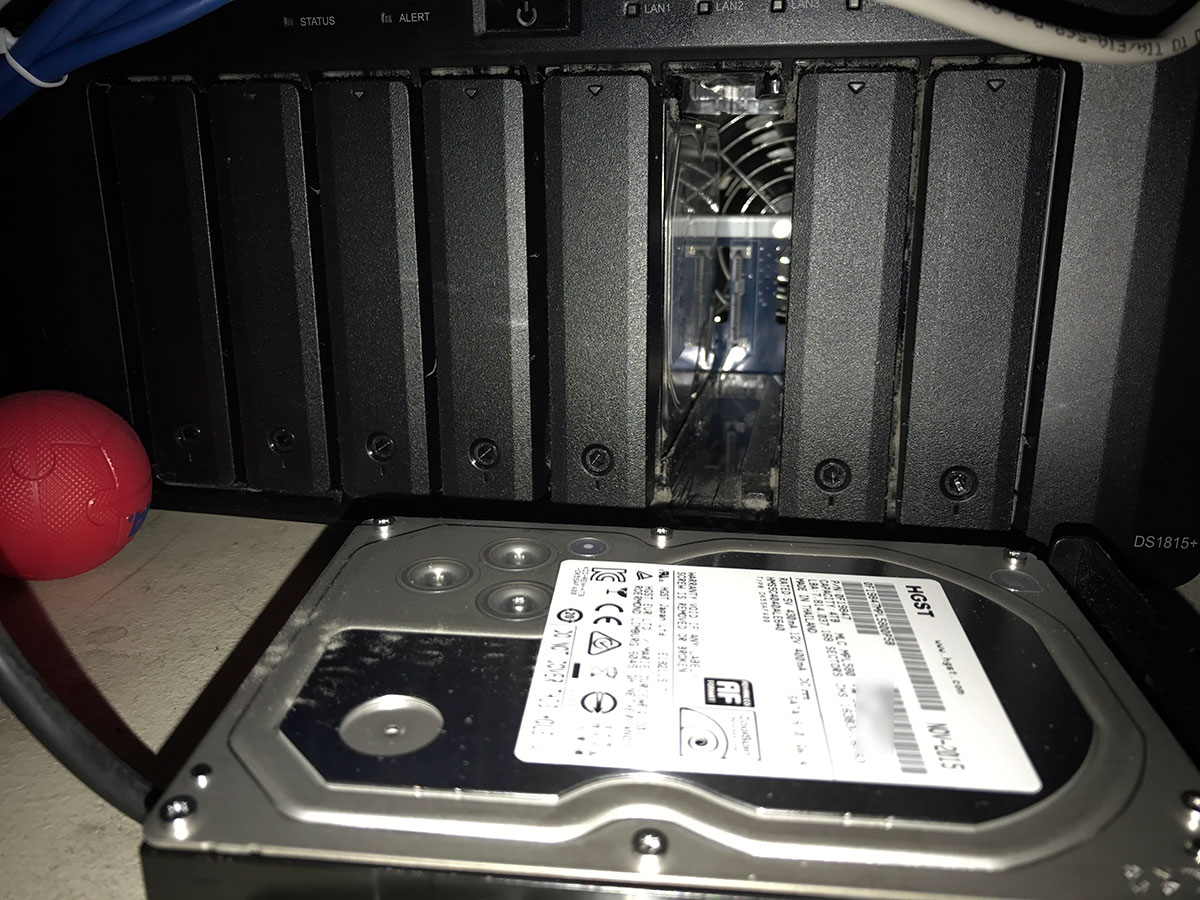
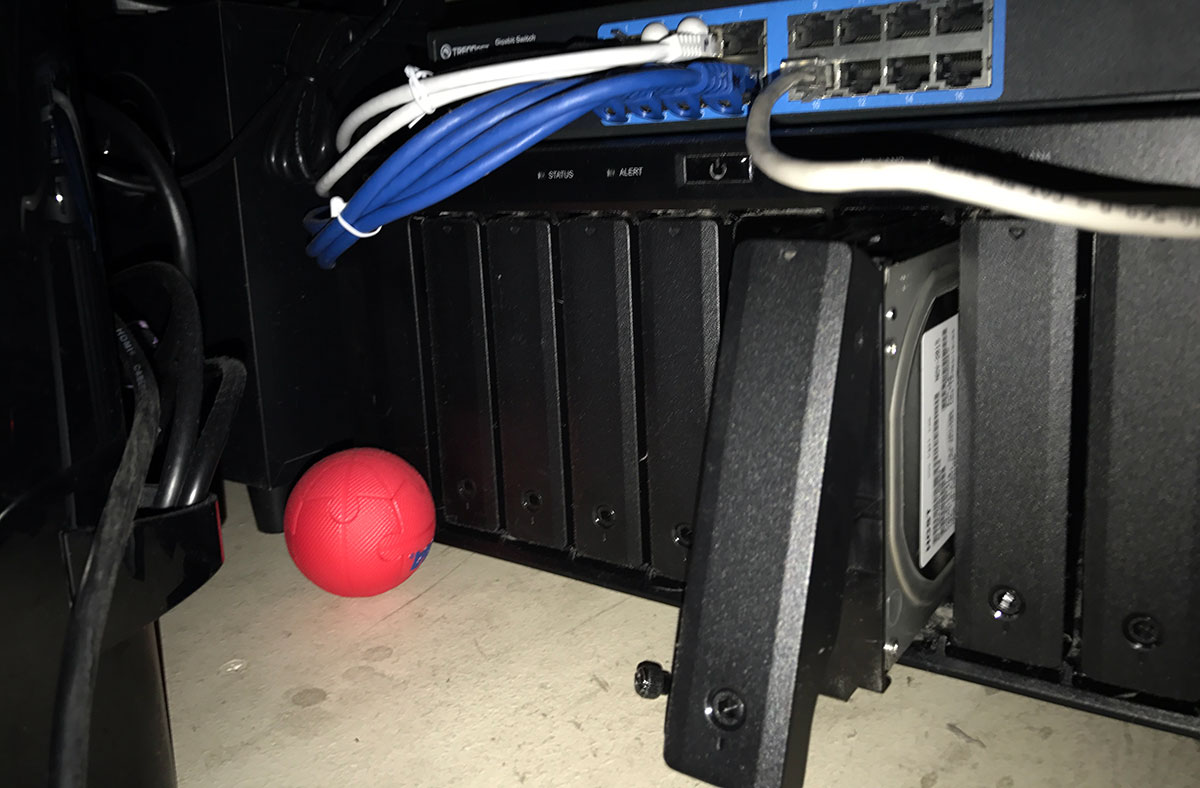
It’s easy to add hard drives. Turn off the NAS. You just remove the drive tray and attach the drive onto the tray. Then you slide it back in.
After turning the NAS back on, I was alerted with a beep notification. It was because the drive came from another Synology device and it thought that one of the drives had failed. You can manage the beep from the interface.
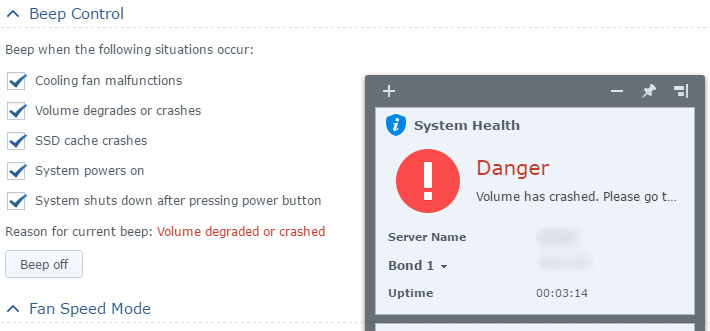
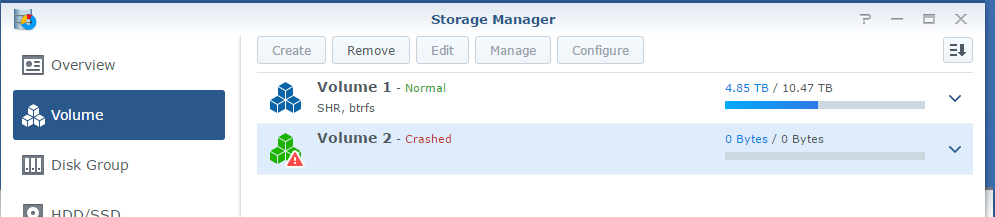
Once you turn off the beeps, you can see the system tells you about the problem. It labels the new drive as Volume 2, since it’s not part of the existing volume. It is also considered crashed. I don’t believe it degraded the current RAID in Volume 1. It’s separated.

In Storage Manager, you will need to select the volume and remove it. This will delete the contents and prepare to be added to the existing volume.
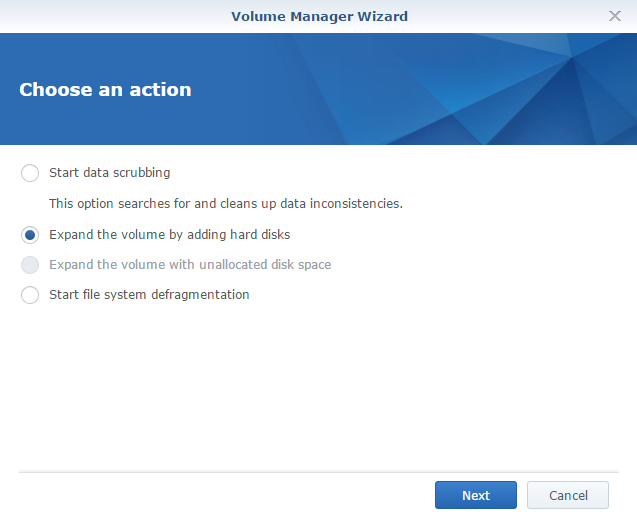
Once finished, you can now added it to the existing hard drive. If you skip the previous step, the option to exapand the volume will be unable to select it.
My current RAID configuration uses Synology Hybrid RAID (SHR) and has two disks that act as fault-tolerance. It’s similar to RAID6 where two hard drives act as parity drives. I didn’t run benchmarks when I first created the RAID to see what the performance difference is between RAID5 and RAID6 but I was more after the two parity drives. This is why you see me having only 10.5TB capacity when I have 5x 4TB drives. You would think it’s 20TB minus the space lost during formatting but two of those drives aren’t counted (that would be RAID0, great for performance bad for fault tolerance since it doesn’t exist). Well, not necessarily two physical drives but the space it represents. So that would be around 8TB minus the space lost during format. Essential, five physical drives becomes three in a RAID6 configuration. Sounds expensive or not worth it but if you haven’t experience data loss or know someone that has, it’s worth it. But remember, RAID is not a backup. This is just for storage. I know I got rid of my back up NAS but this should buy me time to find another solution. Enough about RAID and let’s continue.
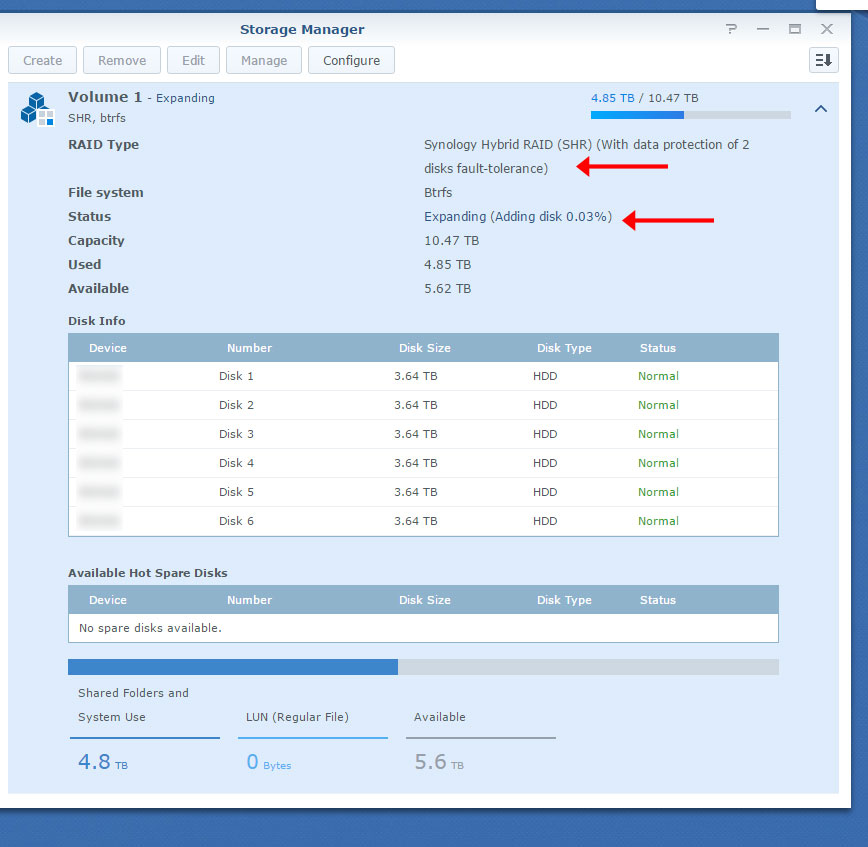
After an estimated 23 hours of expanding, I get an email notification from my NAS to inform me of the process completing.
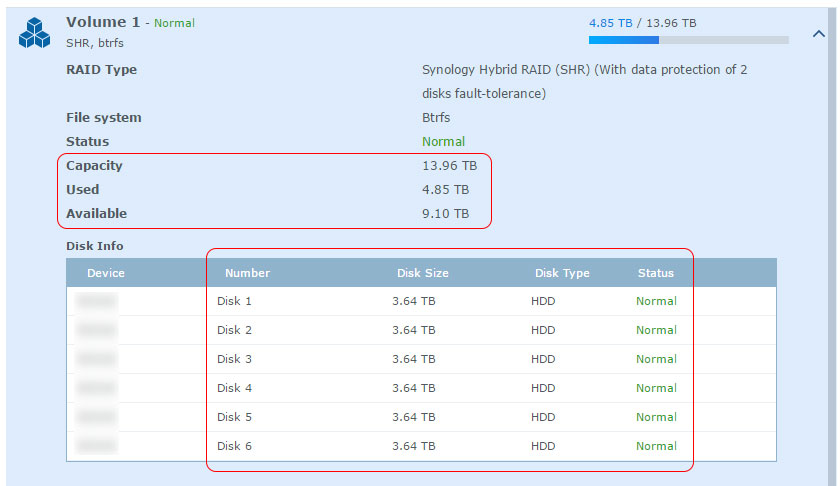
As expected, the total capacity increased by around 4TB. During the expanding, you are able to access the old volume. I didn’t transfer and access any files during this time so I can’t tell you whether or not the RAID is degraded during the process. Maybe on the other two drives I add, I’ll test it. Now, I only did 1 of 3 drives. I believe you could add more than one but the process might be limited to one drive at a time – I may be wrong. Even if you could, I would advise against it. You want to reduce factors of possible errors. Sure it takes a long time to expand but this is why I did it during a non-crucial time. Plan ahead and remember RAID is not a backup.


2 Comments