Network Closet Makeover
We recently purchased a house, our first house, ever and are very excited. It’s a brand new home that has been recently built. During construction, I wanted to find out if I can get Cat5 cables ran to different areas of the house. Unfortunately, this was not possible for many reasons. I tried to even talk to the wire company wiring up the house but they wouldn’t do it. Now the house is built and we moved in.
There are only three places in the house that has Cat5 – master bedroom, loft, and living room. And it’s only one port. Now as a temporary solution, I hooked up switches to expand the ports in those places. The master bedroom, however, was in a spot I didn’t like. The network closet is also not an ideal design for me. Check out what I had to do for a few months until I got it cleaned up.
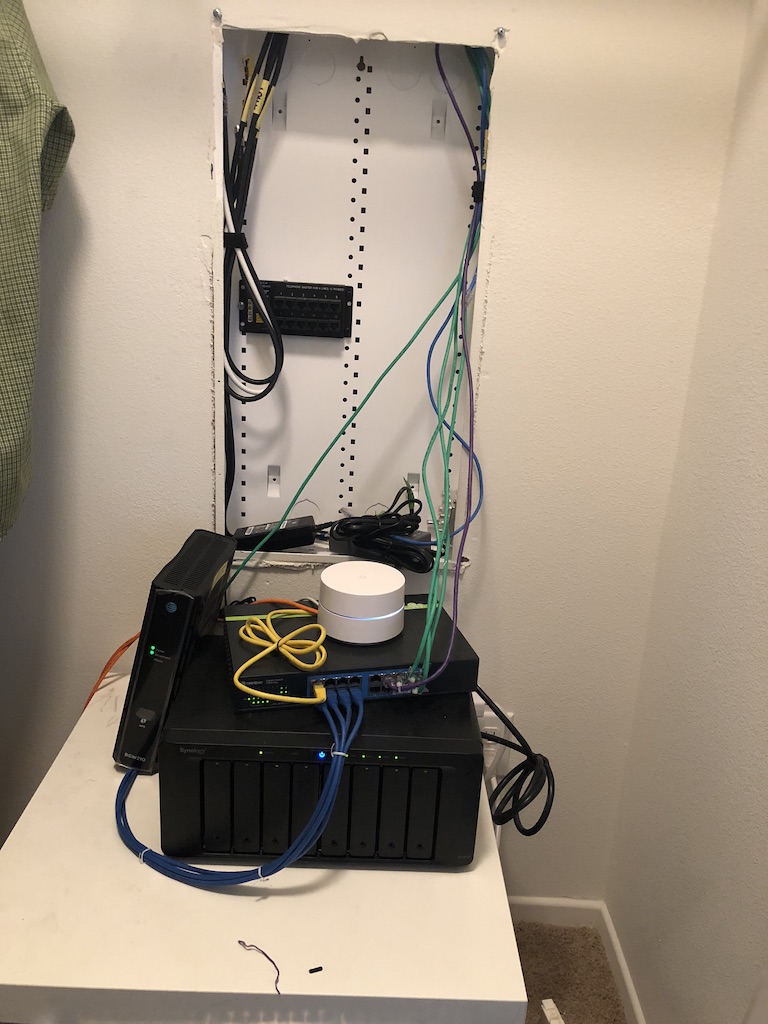
So as you can see, this will not fit inside the communication panel. Here’s what I have.
- AT&T Fiber 1Gbps modem/router
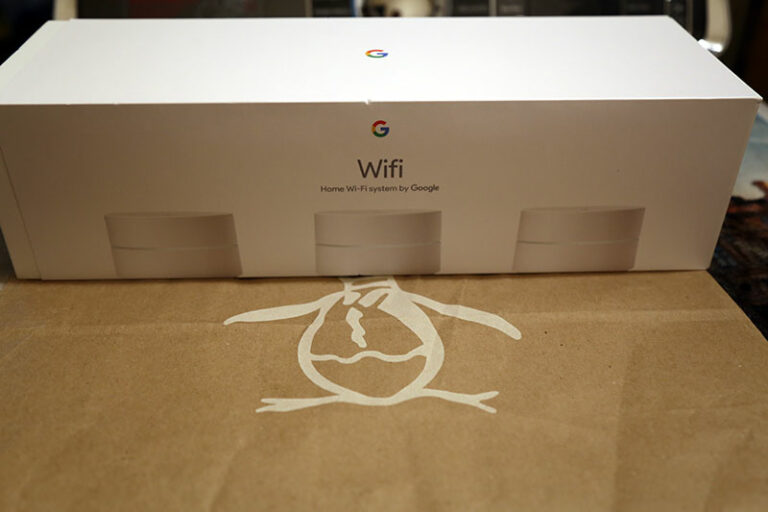
- Google Home router
- TP-Link 16 port switch
- Synology DS1815+ NAS
I wanted this area cleaned up and regain the space in my closet. I started to buy the items I wanted to use.
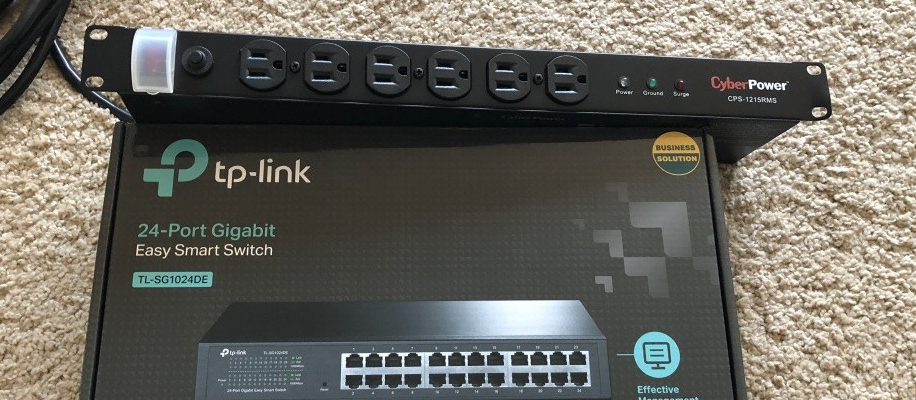
- CyberPower CPS1215RMS Surge Protector 1U
- TP-Link 24-Port Gigabit Smart Managed Switch TL-SG1024DE
- Monoprice Cat6 CMR 1000ft 23AWG bulk cable
- Monoprice Wall Plat Keystone, 6 hole
- Monoprice Keystones
- Low voltage mounting bracket
- 8U wall mount rack (don’t know exact brand/model but looks like this and price is similar)
- 24-Port patch panel
- 20lbs capacity shelf (don’t know exact brand/model but this is similar)
I started to check the attic to see where the existing cables are ran. As I was looking around, I realized that it’s best if I get someone else to do it. This will take too much time and I haven’t done a project like this before. I want to be up and running sooner than later.
I ended up hiring Inland Empire IT Services to run my cables and set up the network rack. It took about 2 days to run 6 drops in the master bedroom and cleaned up my closet.

I’ve pretty much used all six already. I wish I would’ve added more. But this will do for now. I have two PC desktops with three NICs, I have a dangling cable for when I dock a laptop on the desk, and I have a network color laser printer. I also have an iMac on the desk.
So here’s a photo of the managed switch and PDU. I don’t know if you can tell but one of the ears on the PDU came bent. I just took it outside and banged it with a hammer to straightened it out. Works without issues.
They used a plywood to mount the network rack in that spot. I wanted to paint it first but I needed this project done ASAP. Besides, this is in the closet and hardly anyone will see it. It still came out good even without it painted.

The wires were moved up from the panel. So now I can close the panel up. The PDU is plugged in inside the old panel and the wire is ran off along with the other cables.
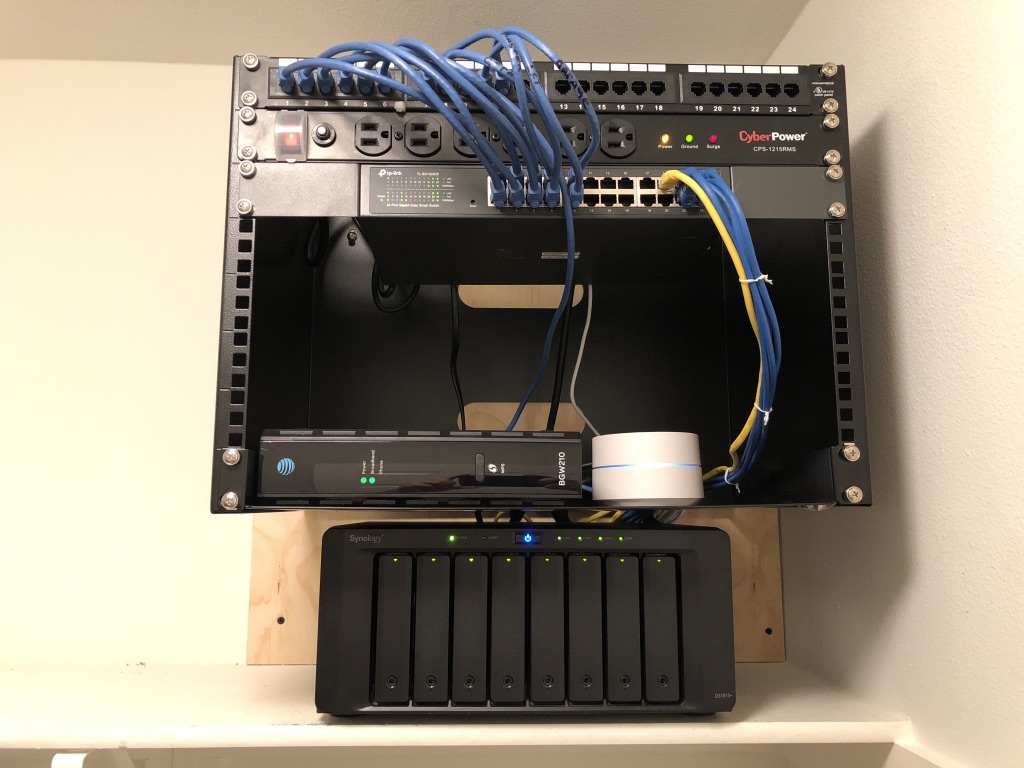
I’m very happy with the results. It’s clean and I get space back in the closet. I originally had the NAS on the shelf but it was heavy and the shelf started to bend. The weight capacity is 20 lbs. The NAS has 8 hard drives so it’s pretty heavy. I decided to just put it under the rack. I haven’t labeled the patch panel yet. I just wrote on the wire. There’s things I still want to do. I want to add more drops in the loft and the kids’ bedroom.
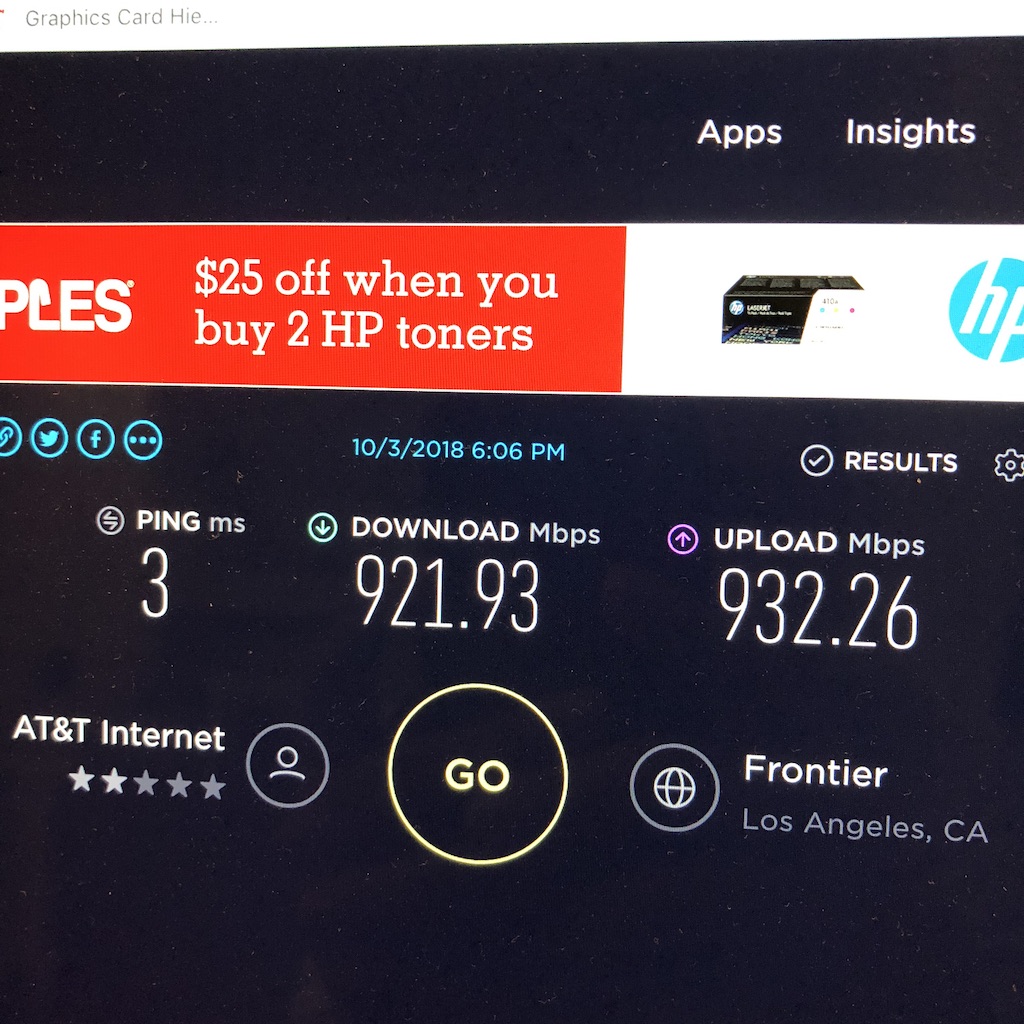
I did a speed test right after the project was completed and I’m getting good numbers.
I have plenty of cable left over so I tried to crimp my own.
https://www.instagram.com/p/Bof94X1lRC1/?utm_source=ig_web_button_share_sheet
No thanks! It took me some time to crimp both sides properly. Lots of mistakes. I’ll just measure and buy already-made cables. They’re inexpensive anyway.


One Comment